-
-
Out-of-Stock
-
Fabriqué en
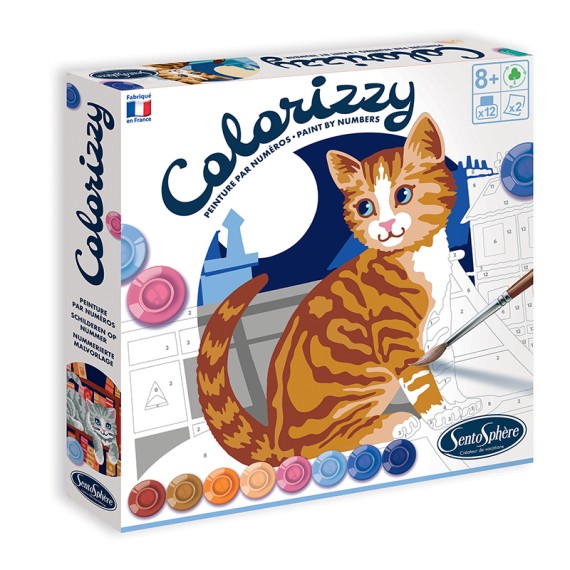
Product details€16.00 -
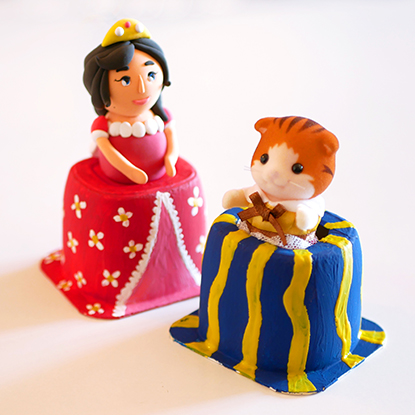
You can actually find treasures in your trash can that can serve as perfect creative bases!
You will need:
- 1 clean yoghurt cup
- Patarev clay
- Acrylic paint
- 1 paintbrush, water to clean it, and paper towels to wipe it clean and dry

Step by step instructions:
- Paint the yoghurt cup with the colour of your choice.
- Leave to dry.
- While the cup is drying, prepare the princess' body. To do so, start by shaping her head with skin coloured Patarev. You can mix different Patarev shape to get the skin tone you want.
- Make an oval shape for the head.
- Add a small sausage for the nose.
- Add 2 white balls for the eyes.
- Add even smaller balls in the middle of these white balls to add the colour of the eyes.
- Finish up the face details with lashes, pupils and lips.
- For the hair, model fat sausages and place them on the head.
- With each strand of hair added, the hairdo will take shape.
- Leave to dry.
- During that time, paint a second coat of paint on the cup, if necessary. You can then start painting details on the dress to create the fabric pattern.
- On top of the cup, add a Patarev cylinder for the body of the princess.
- On top of that cylinder, add a flatten skin-coloured Patarev ball. This will correspond to the top of the body.
- Add little balls all around to hide the limit between the dress and the skin.
- Add balls on each side for the shoulders.
- Place the head and the arms on the body.
- Start finishing up the hairdo.
- You can create a bun, a poneytail... Whatever you want!
- Add the final details: a crown and a bow at the back of the dress.


BONUS : You can create dresses for your figurines at home! All you need to do is cut out a hole on the top of the cup.
